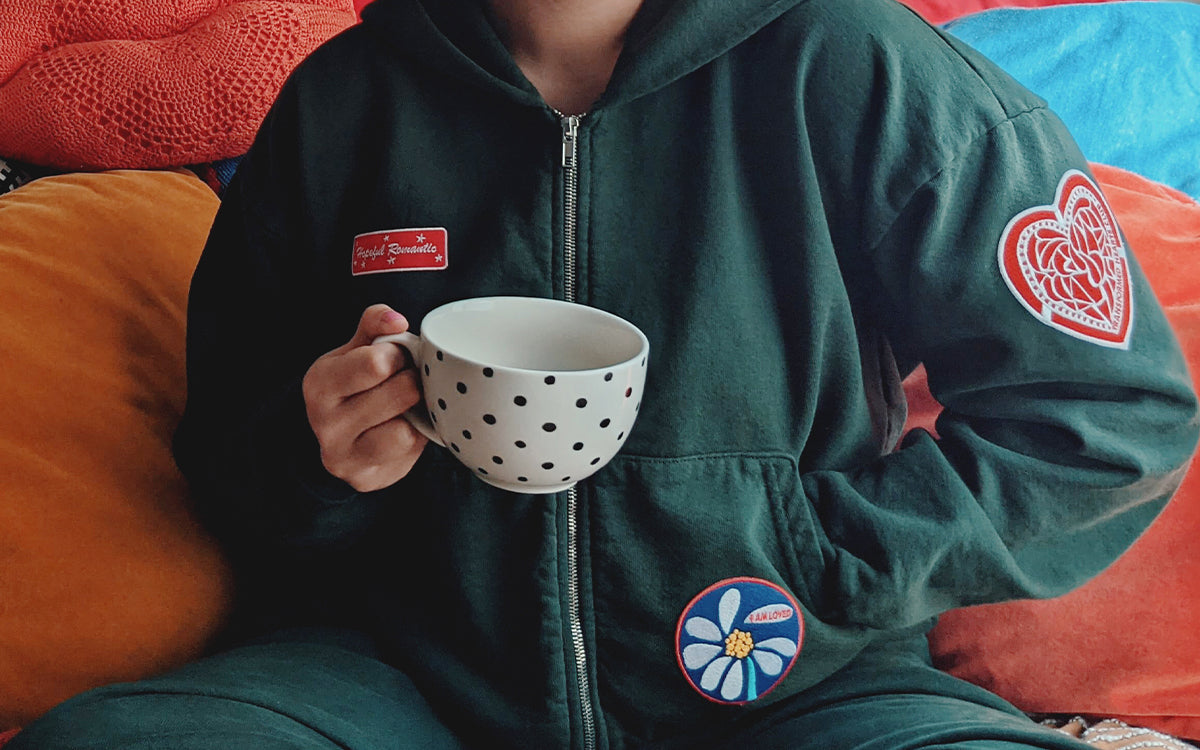
They might call them patches, but we call them BADGES because we proudly wear our hearts on our sleeves like badges of honor. Read on to learn how to iron on your badges like a pro! (We learned from the experts over at Who What Wear, the original article can be found, here.)
1. Prep Iron
To properly affix a patch, be sure to turn up your iron to the highest heat setting. Before you get started, make sure your fabric is a match. Iron-on patches work best with materials like cotton and polyester but can seriously damage fabrics like nylon, rayon, or rain jacket material.
2. Position the Badge
It’s important to choose the perfect position for your patch. Skipping this step can result in your hard work going to waste. If you’re centering the patch, use a measuring tape to ensure it’s in the right spot. For sleeves and lapels, consider pinning the patch in place and checking yourself in the mirror to make sure the badge is upright and in a position you like. You can also use masking tape to mark the placement of the patch.
3. Use a Pressing Cloth
To protect both the fabric’s surface and the patch, place a pressing cloth (you can also use a cotton pillowcase or handkerchief) between the patch and the iron. Press the iron downward and hold it in place for 30 to 45 seconds. Be careful not to move the iron around since this can inadvertently shift the position of the patch.
4. Flip and Repeat
Once the patch is affixed to the fabric, turn the item of clothing inside out and lay it flat on your ironing board. Position the pressing cloth over the reverse side of the patch and repeat step three. Once the patch is securely attached to the garment, allow it to cool completely before wearing.
Please note, if you wish to further secure the placement of your patch, we suggest sewing it on.
